Showing posts with label Lily Atlantic Jewelry. Show all posts

Monday, September 17, 2012

Weekend in Pictures

Essie Smokin Hot, Essie Luxeffects As Gold As It Gets

Fall is in the air! The mornings have been quite cool (for me anyways) and the evening have been very nice. The last few weeks have been sooo busy around our house. I was finally able to spend some time at home this week and completed so many projects. I was able to catch up on my magazine reading and I even had time for a fall manicure.
   
 
My mother recently gave me an early birthday present.....A SEWING MACHINE! I have been wanting one for what feels like forever! I picked up some of these fun fabrics and can't wait to get sewing.
 
 
I'm starting to add new pieces to my wardrobe for fall. I found this chevron patterned scarf at Forever 21 over the weekend. For $8, it was a real steal! 
 
 
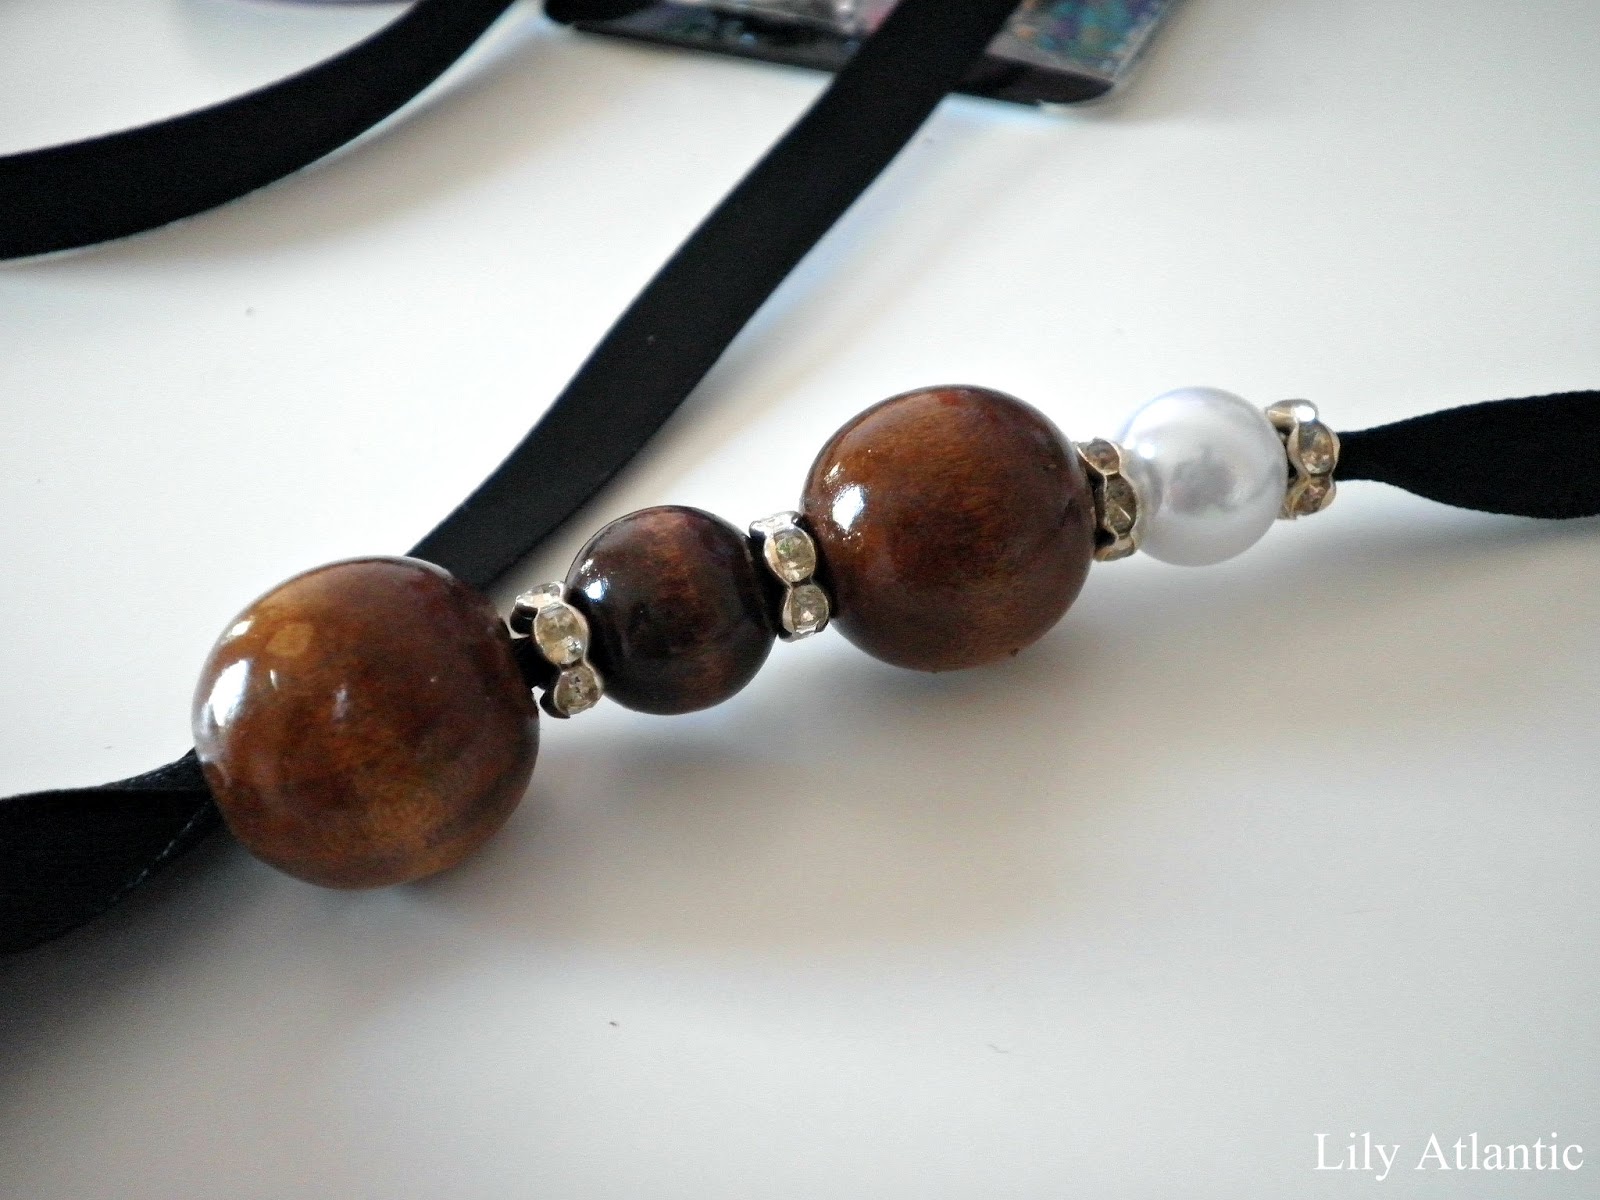
I have added a few new pieces to my etsy shop. I love the feel and look of this acrylic bracelet. It has a mixture of greys, browns and maybe even a hint of blue. You can find it here. 
 
 
I am obsessed with sugar skulls and crosses. I created this lovely bracelet out of white and turquoise magnesite and a silver sugar skull bead. Perfect for the upcoming Día de los Muertos or Day of the Dead. You can also find that here.
 
Friday I will posting a Hollywood Regency inspired DIY so be on the look out for that. Have a great week!
 
♥ Jen

Friday, June 29, 2012

DIY- Thread Wrapped Bangle Patriotic

The 4th of July is undoubtably one of my favorite holidays...although I lack anything patriotic to wear. Last weekend I spent most of Saturday afternoon looking for some inspiration, but I really didn't seem to find just what I was looking for. As I was purusing the internet, my little Diva Darling was playing in my craft stash...with my bangles and thread....and then it hit me! Why not combine the two of them and see what happens.

The bangle was only .25 from a yard sale, and I purchased the pack of craft thread for about $3 from a craft store. Here is how I created bangle.
 
 Supplies:

Bangle
Craft Thread
Glue or Adhesive
Scissor- not pictured

First, I placed a small amount of glue on the inside to hold the thread and then began wrapping. Once I was finished with a color, I placed another small amount of glue and then trimmed with a pair of scissors.
 Once done with one color just continue on with the next using the same method as above.
This is your final product. Here is the break down of the times I wrapped each color in case you want to replicate this pattern.

Thin White- 10
Wide Red- 20
Wide Blue- 50
Wide White- 20
Thin Red- 10

* The amount of wraps may vary depending on the size of your bangle.*
 I didn't choose a real dark blue so it has almost a nautical feel to it so it can be worn past July 4th.
Leave it to my little Diva Darling to spark a little creativity into me. This is perfect for adding just a touch of patriotism to an outfit without being too themed. Wear it alone or add a few extra bracelets for a little arm party. Let me know if you try this, I would love to see what other kinds of patterns you come up with. Have a great weekend!

♥ Jen


Friday, June 8, 2012

DIY- Lanvin Inspired Long Petal Necklace

 This is the time of year that I love to incorporate florals into my wardrobe. I am also totally in love with peacock blue. Last month while looking for a Lanvin inspired DIY, I spotted this gorgeous long petal necklace on the Bergdorf Goodman website. The perfect combination of floral and peacock blue. So here is an encore Lanvin inspired necklace.
 Inspiration photo via
 Materials need:

Ribbon (1 1/2")
Chain
Eye Pins
Jump Rings
Clasp
Silver Grey Colored Pearls
 Tools:

Lighter
Pliers
Round Nosed Pliers
Side Cutters
Scissors
 Slide an eye pin through pearl and loop. Do this for however many pearls you want to add. A round nosed pliers makes this step much easier.
 This is what you are going for.
 I completed 5 of these for my necklace.
 Using scissors, cut many different petal shapes. It doesn't matter how they look at first...you will be stacking them to create flowers. I was a little scared about how it would turn out, but be creative, that is the point of it being an inspired necklace...it doesn't have to be identical.
 Take a lighter and burn around the edges. The longer you hold the lighter to the ribbon the more indents you can create.
 Stack however many petal you would like and attach to your chain. I used the inspiration photo as my guide. Slide an eye pin through the petals and then attached it to my chain and pearl.
 Continue until you have made all your petal and attached them to the chain and pearls. Add a clasp if you would like.
 Lanvin and my version of the long petal necklace.
Voila! All done! I think this project cost a total of $3 for the ribbon and pearls, and I already had all the other supplies on hand. The inspiration necklace costs $795! So I think that this is a pretty easy and affordable way to add some floral to an outfit, and when it is out of style you can re purpose the materials and make something else glamorous!

♥ Jen


Linking up over at Happy Hour Projects here and DIY Showoff here.

Friday, May 18, 2012

DIY- Lanvin Wood and Pearl Inspired Necklace

To kick off my designer DIY of the month is a Lanvin wood and pearl inspired necklace. All of the items needed for this project can be found inexpensively at your local hobby and craft store. The inspiration necklace costs $1,560!
Lanvin Wood and Pearl Mixed Necklace. Image via
 Supplies:

6- Large Wooden Beads
5- Small Wooden Beads 
3- Pearls (same size as small wooden beads)
1- unique wooden bead (mine was 4 sided)
10- Rhinestone Rondelle Spacer Beads
Chain
Clasp
3/8" Black Satin Ribbon
Beading Needle
Pliers

*** Make sure all beads, pearls and rondelles have large enough holes to string ribbon***
 Using a beading needle, slide ribbon through.
 Start adding beads to the ribbon, use inspiration photo for correct order and placement.
 This is what you should have after all beads have been strung.
 Tie one end of the ribbon to the chain. I also tied a small knot at the end of the ribbon and frayed it out a little with my fingers to get the look of the inspiration photo.
 Slide clasp onto the other end of the beads and tie a knot.
 I again added a knot at the end of the ribbon and frayed with my fingers.
And this is the completed necklace! I am very pleased with the end result and I think it came very close to the inspiration photo. Let me know if you try this, I would love to know how yours turned out!

♥ Jen


Linking up over at DIY Showoff and Thrifty Decor Chick

Friday, May 11, 2012

DIY- Morse Code MOM necklace

 While watching the Today show earlier this week, I was inspired by The Omerta Collection by Anthony Dreyer. He has a collection of Morse code jewelry made of black diamonds and pearls. Sound expensive? Well, it is....the inspiration necklace retails for $495!   

 So in honor of Mother's Day, I re-created his Morse code MOM necklace. This is super simple (and cheap) and most everyone probably has some of these items around the house. Keep reading to see how I did it.
 Image via 
 Supplies:

7- round black beads
2- pearl round beads
2- small jump rings
2- medium sized jump rings
chain in desired length
clasp
craft wire
pliers
round pliers
side cutter
crimper
 First take a segment of craft wire and wrap around round nose pliers. This is what it should look like before you trim excess with side cutters.
 Be sure to crimp trimmed ends to prevent scratching of the skin.
 Feed beads onto the wire and repeat wrapping around round pliers.
 Using a small jump ring attach chain to the end of finished beads. Repeat on the other side.
 Using the large jump rings, attach clasp and end ring.
 This is your final product. Morse code for MOM!


I was able to create this necklace in about 15 minutes...so if you are in need of a last minute gift for your Mom this would be perfect.

Feeling inspired? Here are a few other sites where you can find some inspiration for other Morse code necklaces at Thanks, I made it here, or at Freckles in April here.

I hope everyone has a wonderful Mother's Day!

♥ Jen

Linking up over at Happy Hour Projects

Monday, April 30, 2012

Weekend in Pictures

What a weekend we had....can I just say, I can't believe how cold it was! It seems as though winter is here finally...I'm so glad we'll be back up in the 80's this week. It's officially the start of yard sale season here and hubby took Diva Darling and I around to some of the many community yard sales that were this weekend. We managed to score a few things, and I can honestly say it was worth it despite the cold weather. Here are some photos from the weekend.
 I love turquoise...especially during the summer months. I made this necklace over the weekend and I can't wait to wear it here soon.
 Vintage earrings that I picked up at an antique store a few weeks ago.
 I always keep a journal with me to write down ideas as they come to me....because if I don't I will forget.
 I love this little shoe! I found this at a thrift store a couple of months ago. It actually has a little cat...(I thought it was a lion) on the front...and it's milk glass to boot! Do any of you collect milk glass?

Let me know what you did over the weekend.

♥ Jen